I come from a family that is kind of crazy about sports. Top athletes in school and everything. I grew up with older brothers in Pakistan. And that can only mean one thing. An endless cricket craze. We weren’t allowed to watch anything else when there was a cricket match on (well there wasn’t much else to watch either at that time).
Of course most boys watch and play cricket in Pakistan. But it wasn’t just that. Flood lit tournaments, where they played all night long, matches even in the sweltering heat, coming home panting and dripping with sweat. And then getting up the next day and doing it all over again.
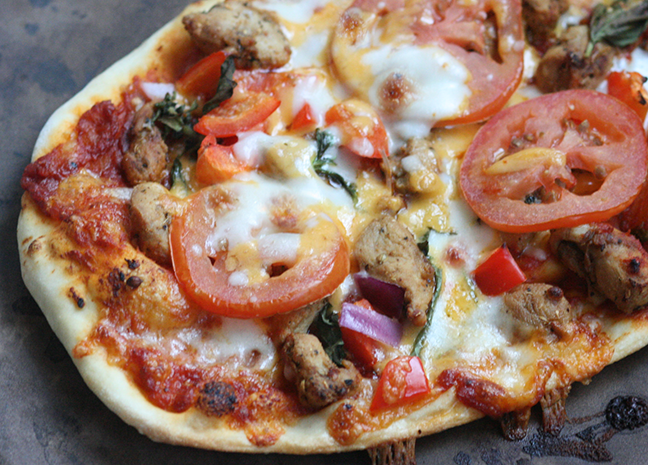
![Home made Pizza]()
And following the seasonal trends. Back then, Cricket tournaments didn’t happen all year around like they do now, so whatever was on- tennis, squash, badminton, table tennis, football (I’m talking about soccer), hockey, they would follow that trend at home too.
Of course, I played a lot as a kid- that’s what kids do. Every evening, my cousins and I would get together and go outside. Running around the neighborhood, playing on the foundations of houses that were under construction, climbing trees and boundary walls, building houses and huts out of everything. Card games, board games, guessing games, running, jumping, skipping, hopping, and following our older brothers into whatever sports they were into at the time. It was a fun and carefree childhood.
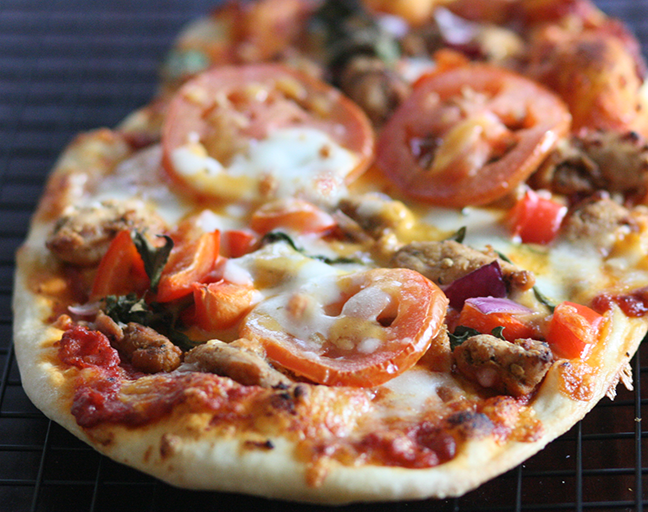
![Home made Pizza]()
We grew up playing outside, making up games using our imagination. I loved making up stories and acting them out. I don’t think there is a single topic in the world that we didn’t make stories out of. We had a wooden ladder that we used for tens of different games. That’s what a child’s imagination will do. One ladder. Endless possibilities. Nowadays, kids watch cartoons about playing outside and using their imagination. I watched cricket and enjoyed it. I actually thought about how I would follow the matches after moving to America. Ha ha.
After I came here and missed the first few cricket tournaments, it dawned on me. Wow. I really don’t miss it at all! I guess my brother’s obsession was rubbing off on me, plus when you’re backing a team whose performance is so erratic- that feeling of elation when they used to win, and then the devastation when they wouldn’t even be trying on the field- spare me the emotional trauma.
Unlike the rest of my family, I am not athletic, and I have slowly come to realize (and accept) that I don’t like watching sports at all. I’ll join in to play for fun, but I’m not a die hard fan of competitive sports. I enjoy playing, but there is a noticeably sad dearth of talent!
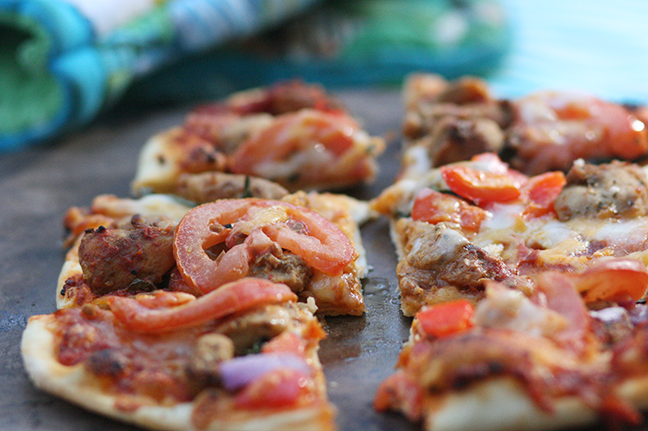
![Home made Pizza]()
Now I admit that I may not be very sporty, but believe me, I understand the importance of sports for an individual, and for a nation. (And don’t take me for someone who believes in just cooking and eating all day long. I’m a very strong believer in being fit- going outdoors, exercising; I also believe in eating all kinds of foods from all food groups albeit in moderation!) It sparks companionship, it’s great for the body and for the mind.
Sports ignites passion and builds camaraderie among people like nothing else. It can bring an entire nation together. When you think about the kind of backgrounds that some of the Pakistani cricket players come from, and the way they are built up to compete and succeed at an international level on the basis of sheer talent, it could really make great sports movies, like the countless ones made in Hollywood- inspiring tales of how the underdogs do well. A lot of times the movies are not even about becoming champions, but about winning one game on heart alone. We could have had hundreds of stories! They really boost morale and raise self esteem; spread positive energy, and can be uplifting for the whole country!
Well, the heroes are inconsistent, and no one is making a movie.
![Home made Pizza]()
However, even though I left the fan club, it seems like it is still going strong without me! Even in America, Pakistanis religiously follow cricket, friends getting together to watch matches all night long; even some desi theaters play the matches to crowds. And then there are some people like my husband who also loves to follow American sports. Every super bowl weekend, he wants chili and nachos and wings, and I don’t want to do all that for one person, plus it’s no fun for me since he’s just watching the game. So, I like to invite friends over (we throw the worst parties for desis- I mean, the super bowl?) to enjoy the food and have a good time.
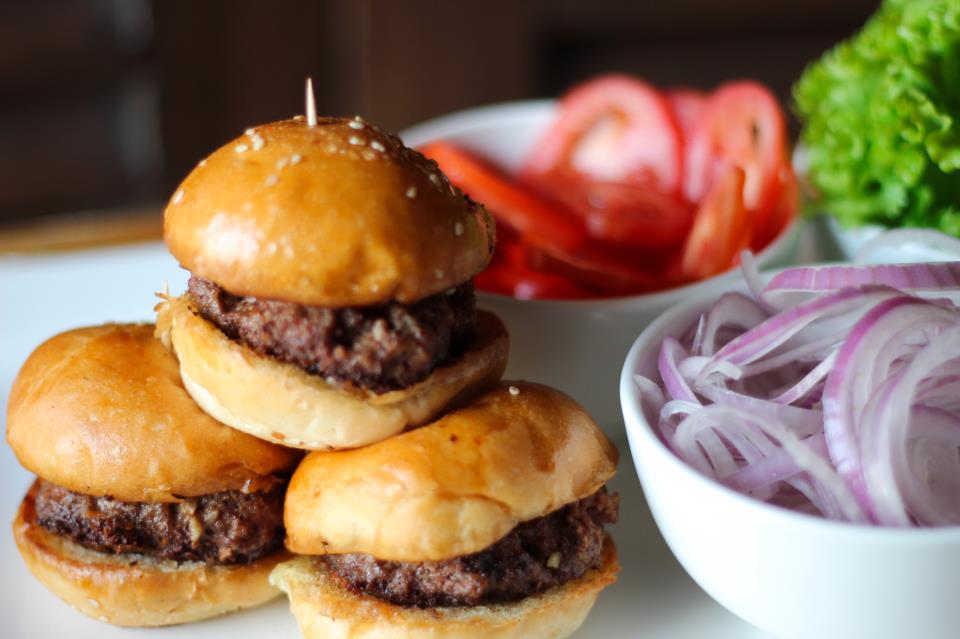
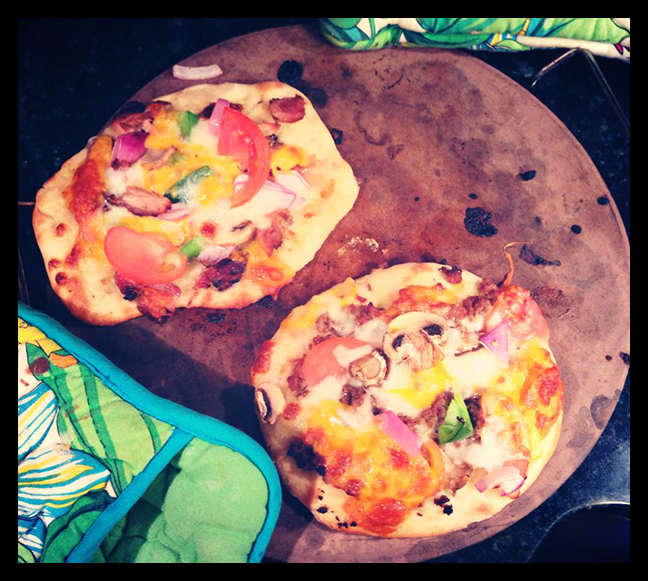
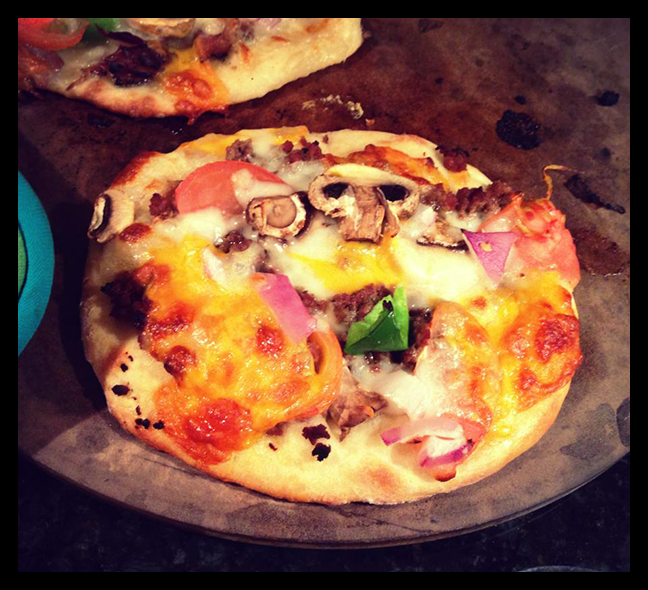
![Home made mini pizzas]()
Home made mini pizzas
Now, I saw this a few years ago in GQ. (I had a free subscription… long story, but by the way, a very entertaining yet highly informative magazine… notwithstanding ‘the hottest women of the year by ethnicity’ sections- but I mean, it is a men’s magazine; far better than any women’s magazine I have ever read- and I’ve read them all- trash. I learnt a lot from GQ- how to craft the perfect sandwich, leather floor tiles, and am now very well versed in men’s fashion.)
Let me try that again.
In GQ, I read an article about a party idea for bachelors, or a bachelor pad party, I’m sure they made it sound a lot more hip than I am, but the idea was to get a pizza dough, set out a bunch of toppings, and let your friends come in and put together their own pizzas, throw them in the oven and have the food take care of itself while everyone mingles and has a great time.
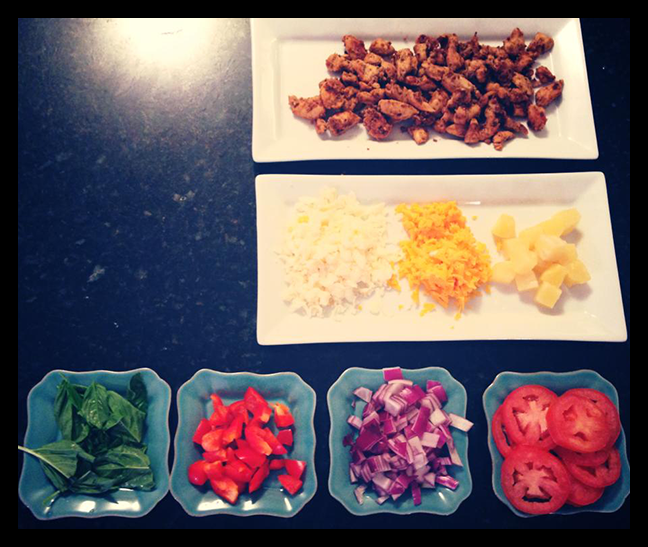
![Pizza Bar!]()
Pizza Bar!
I loved the idea. It sounded so breezy and rustic and la dee da at the same time. You know- friends walking around, “crafting” their pizzas, which the host has just laid out very casually and is directing them towards the pizza bar to help themselves instead of being in a frenzy all day preparing for and serving dinner guests.
And I think it’s perfect for any game day- whether you’re getting together to watch Pakistan play South Africa or basketball, it’s casual, easy, fun and family friendly (don’t people always order pizza for the kids?). Because you’re watching the game, so you’ll be there for a good number of hours, and you want some finger food, snack type fun party food, and an informal atmosphere.
![Home made Pizza]()
If you’re getting together with old friends, then you’ll all be comfortable anyway, and if you’ve invited new friends/coworkers, then its really a good way to cut the formality and get in there, use your hands, and feel easy with each other. Participating in any sort of fun activity together helps break barriers and create pleasant memories and a great bond. It’s a catalyst for laughter, and that’s all you want to hear when you have people over!
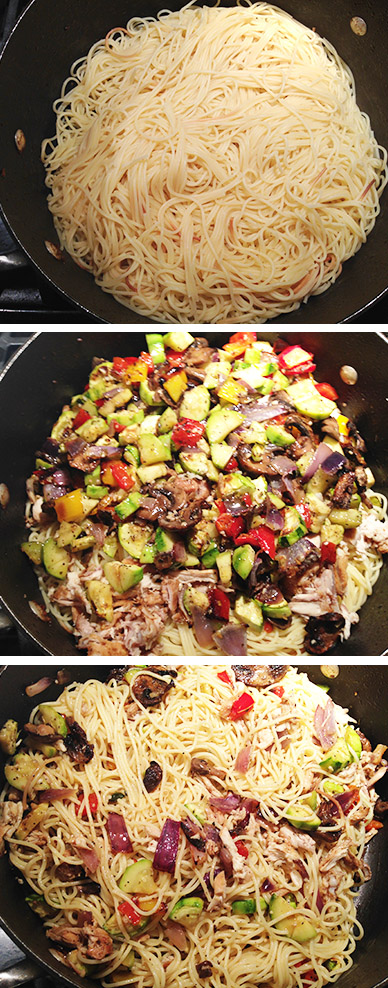
You can always buy pizza dough from the grocery store, or from a local pizza place, but there’s nothing like home made dough! It’s pretty easy to make, and the taste is awesome! You can make a few batches, depending on the number of guests, (you might want to make a lot- my husband and I can go through half a batch in one go- it’s that good and it freezes well) lay out as many toppings as you like. Just tear a ball of dough, roll it out, throw on any combination of toppings, and try as many combinations as you like, into the oven for 7-8 minutes and there you have it! Your own hot from the oven, hand made, custom pizza. It’s all very gourmet.
![Home made Pizza]()
Try it. You’ll love it. Your friends will love it. Their kids will love it. Your kids will love it.
Even my little gluten free girl, while not interested in eating pizza, enjoyed choosing toppings and arranging them on the pies.
If you do have gluten free guests coming over, you can get gluten free pizza dough mixes that you can bake before hand, and have them choose their toppings and bake them on a separate cookie sheet.
I strongly reccommend home made dough and fresh cheese. Avoid the pre-shredded variety. Fresh mozarella, and any other cheese of your choice, from the block, will take this experience to a whole other level. We have never enjoyed pizza this much. While there are more and more halal places selling pizza now, you can prepare your own choice of meats and set them out as well.
Pizza Dough Adapted from Bobby Flay’s Pizza Dough Recipe
Ingredients
3 ½ to 4 cups bread flour, plus more for rolling
1 teaspoon sugar
1 envelope instant dry yeast
2 teaspoons kosher salt
1 ½ cups water, 110 degrees F
2 tablespoons olive oil, plus 2 teaspoons
Directions
Combine the bread flour, sugar, yeast and kosher salt in the bowl of a stand mixer and combine. While the mixer is running, add the water and 2 tablespoons of the oil and beat until the dough forms into a ball. If the dough is sticky, add additional flour, 1 tablespoon at a time, until the dough comes together in a solid ball. If the dough is too dry, add additional water, 1 tablespoon at a time. Scrape the dough onto a lightly floured surface and gently knead into a smooth, firm ball.
[Note: I don't have a stand mixer so I use a different method: Combine sugar, kosher salt, yeast, olive oil and water in a bowl. Add 3 cups of bread flour and knead well. Transfer to a clean surface and keep adding about 1 more cup, or until the dough is smooth and comes together nicely.]
Grease a large bowl with the remaining 2 teaspoons olive oil, add the dough, cover the bowl with plastic wrap and put it in a warm area to let it double in size, about 1 hour.
Preheat the oven to 500 degrees F and heat a pizza stone for at least 20 minutes. [I'm scared of 500 so I bake between 450 and 480 degrees.]
Turn the dough out onto a lightly floured surface and divide it into 2 equal pieces to make 2 large crusts, or take handfuls of dough to make mini crusts. Cover each with a clean kitchen towel or plastic wrap and let them rest for 10 minutes.
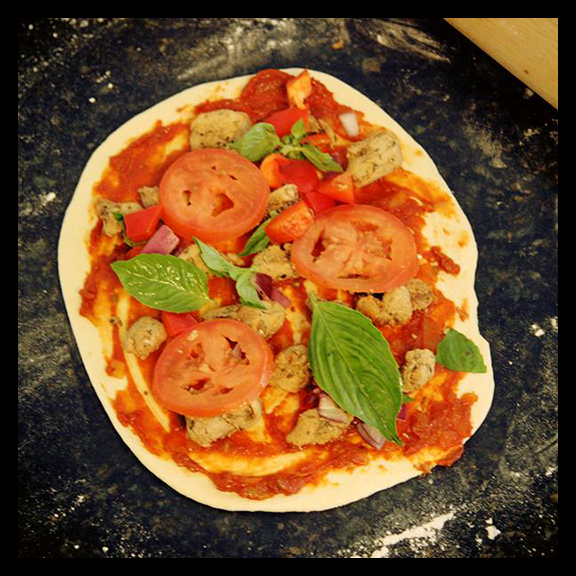
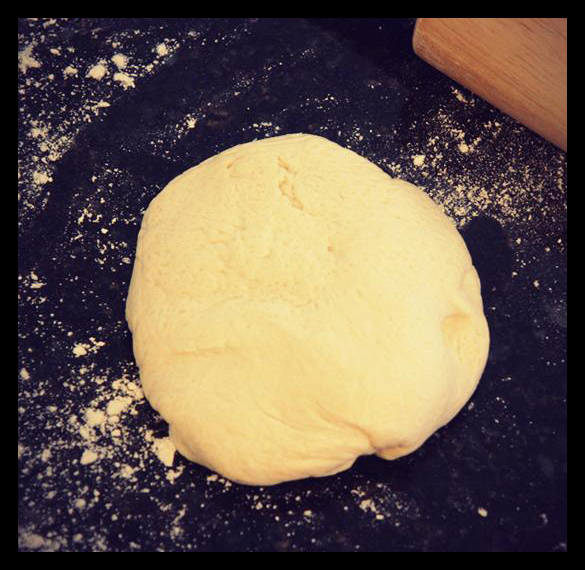
![Pizza Dough]()
Pizza Dough
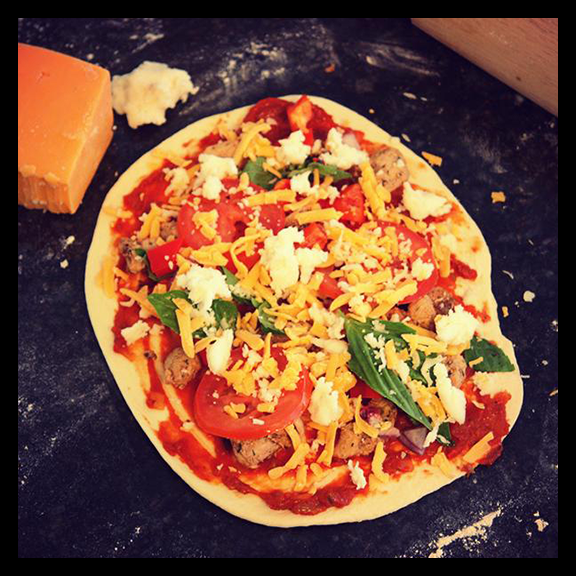
Roll out the crusts, spread with pizza sauce or garlic butter and top with your favorite toppings. Transfer on to the pizza stone and bake for 8-15 minutes, depending on the size of your crust, or until the cheese has melted and the top is starting to brown in places.
Notes:
- Bread flour has a higher gluten content than all purpose four. Using bread flour will give you a much crisper crust. If you can’t find bread flour, you can substitute it with all-purpose flour which will give you a chewier crust.
- Warm water is important to activate the yeast. It should feel just warm enough that you should be able to stir it comfortably with your finger. If it’s too warm, then it will kill the yeast and the dough will not rise.
- Kosher salt is not as ‘salty’ as table salt. Do not use more than 1⅓ tsp of table salt in place of kosher salt.
- I don’t have a pizza paddle, so transferring a large pizza on to the pizza stone would be really hard. That’s why mini pizzas work better for me. Make sure the surface you’re rolling the pizza on is well floured so that it doesn’t stick.
- You can buy a pizza stone by clicking on this link. Mine came with a rack and a pizza cutter. I got the cheapest one but it’s worked really well for me. Do not wash a pizza stone. Just scrape it clean. Sudden changes in temperature can cause pizza stones to crack.
As I said, the pizza bar can be as big or small as you want. The possibilities are endless.
- Mozzarella
- Ricotta
- Swiss
- Cheddar
- Fontina
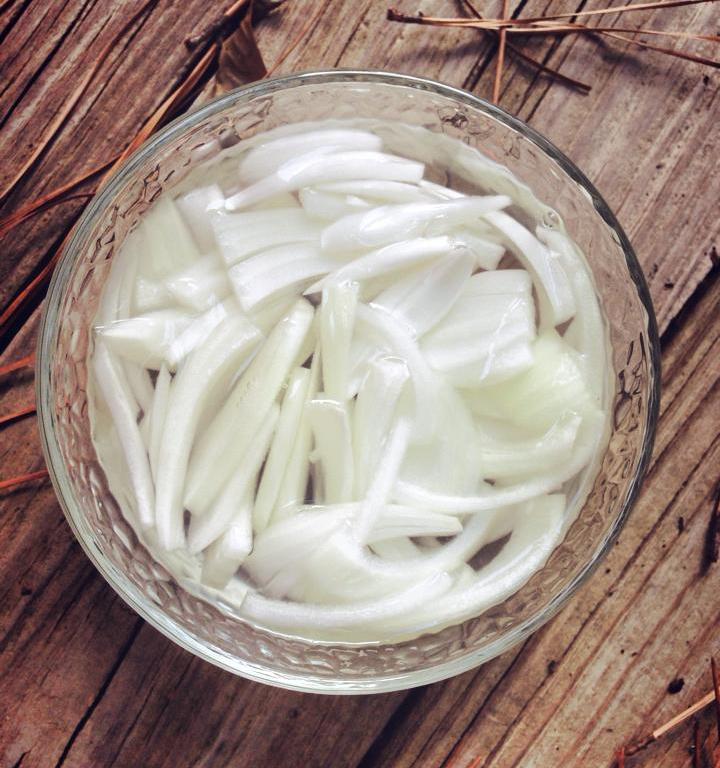
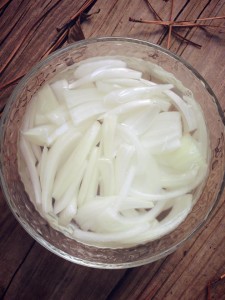
- Red onions
- Roma tomatoes
- Mushrooms
- Bell pepper
- Olives
- Basil
- Pineapple
- Baby spinach
- Roasted eggplant
- Cherry tomatoes
- Sun dried tomatoes
- Roasted tomatoes
- Grilled chicken
- Ground beef
- Boneless beef
- Tandoori chicken
- Grilled shrimp
…With pizza sauce or garlic butter.
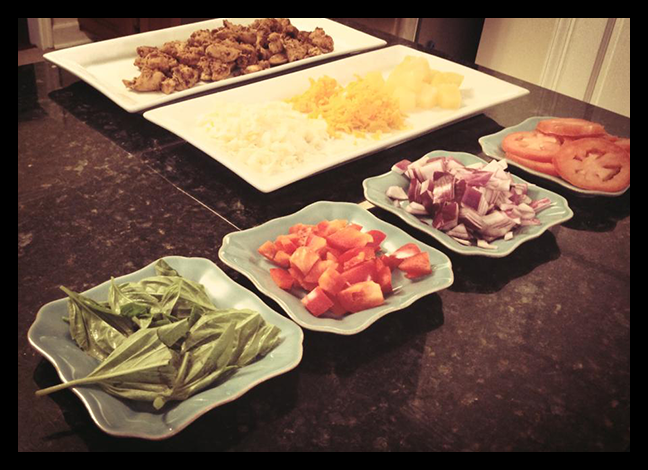
![Pizza Bar]()
Pizza Bar
I was skeptical at first about deviating from the conventional pizza sauce, but the garlic butter pizzas turned out to be my favorite!
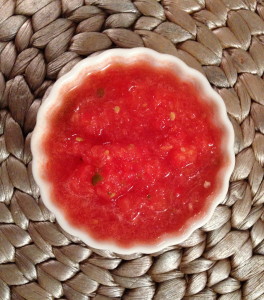
Pizza Sauce: Adapted from Exquisite Pizza Sauce
|
1 6oz can tomato paste
6 oz water
3 tbsp grated Parmesan cheese
1 teaspoon minced garlic
2 tablespoons honey
3/4 teaspoon onion powder
|
1/4 teaspoon dried oregano
1/4 teaspoon dried basil
1/4 teaspoon ground black pepper
1/8 teaspoon cayenne pepper
1/8 teaspoon dried red pepper flakes
salt to taste
|
Combine all the ingredients over medium heat until well blended.
Garlic Butter
Melt 4 tbsp of garlic over medium low heat. Add 1 tbsp of fresh, minced garlic and stir for a few seconds. Remove from heat.
![Home made Pizza]()
But the real question still remains- why would you make pizza at home? Just order in!
I was talking to my cousin the other day, who got me started on the garlic butter sauce in the first place, and I was telling her that I probably wasn’t going to cook that day, and she said ‘Yeah, just order a pizza.’ And I said, ‘No! Why would I order a pizza? I make the best pizza at home!” And she’s like, “Amina, that’s your answer for everything- I’ll just make it at home!’
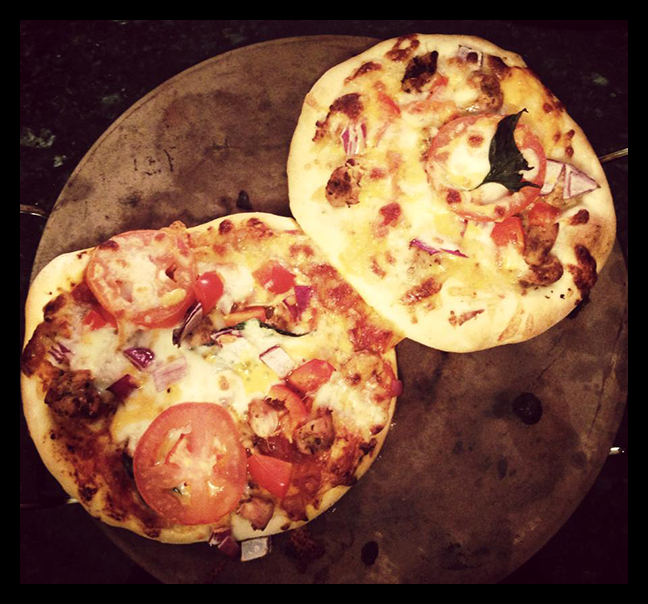
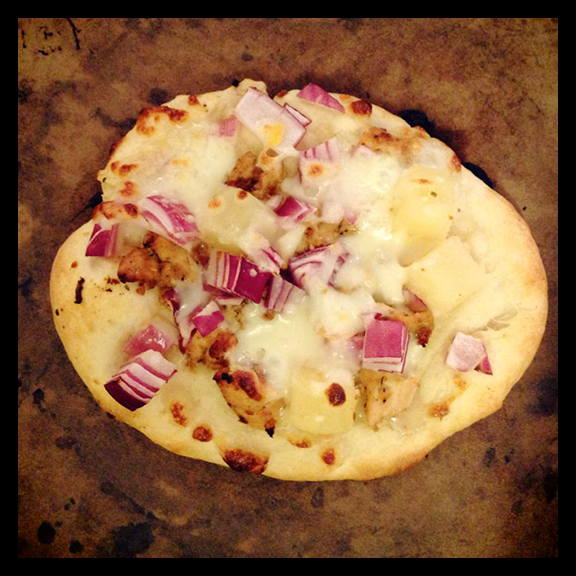
![Hawaiian was our favorite with Garlic Butter, Chicken, Pineapple, Red Onion & Mozzarella.]()
Hawaiian was our favorite with Garlic Butter, Chicken, Pineapple, Red Onion & Mozzarella.
Well- there is no comparison in taste! You won’t know until you try! There is nothing like it! There’s always something wrong when you order a pizza- it’s not oven fresh, there’s never enough toppings, and for zabiha eaters- where’s the meat???!!! It’s hard to find great zabiha pizza. You can load your home made pizza with as many toppings as you like!
And then there’s the all important fun get togethers with friends. Besides throwing formal dinners, sometimes I want to tell the guests to kick off their heels and get in there and get to work! Those dinners are not all bad, but in order to have a real relationship, you have to bring down the barriers. Being a good host is not all about fancy meals and fancy china. In the end, the most memorable parties are the ones with the silliest stories and infectious laughter, and for that, you need to leave the formality at the door.
![Home made Pizza]()
Please ‘like’ Zabiha Bites on Facebook.
Related Posts:
The post Sports Mania and a Pizza Party! appeared first on Zabiha Bites.